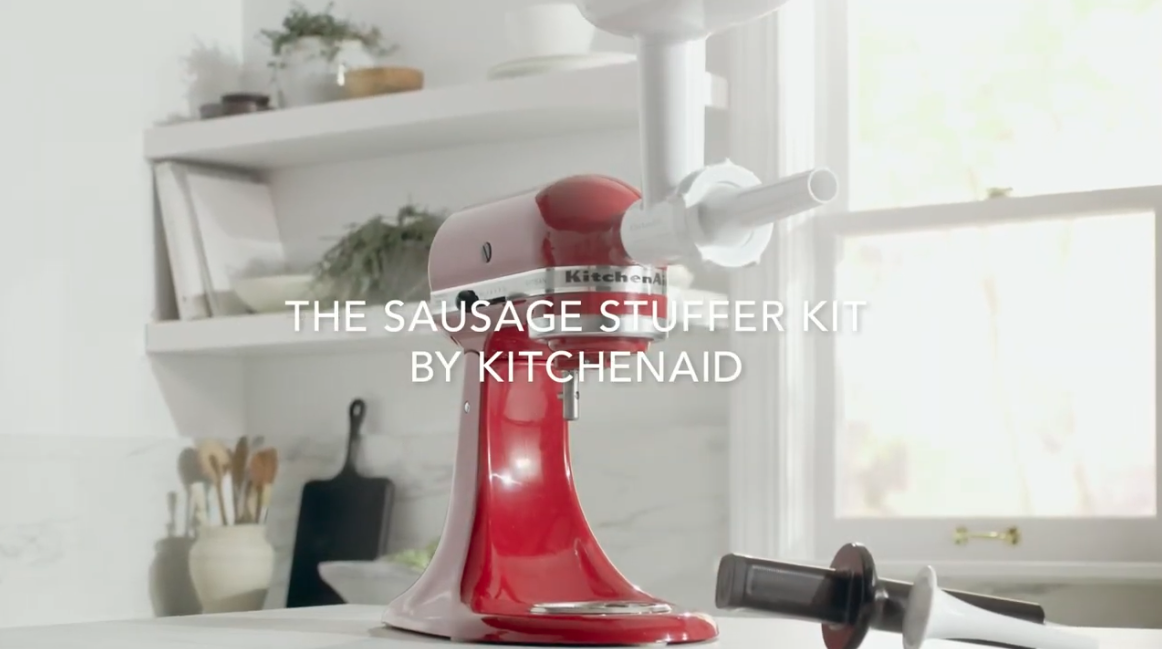
Have you ever wanted to make sausage? It’s easier than you might think. From Italian sausage to Polish kielbasa, German bratwurst, andouille and chorizo, there are many types of sausages and flavors to experiment with. This guide will show you how to stuff sausage casings using your KitchenAid® Sausage Stuffer Kit. For more information on using this particular KitchenAid® attachment, refer to your use and care guide.
What is the best way to stuff sausage?
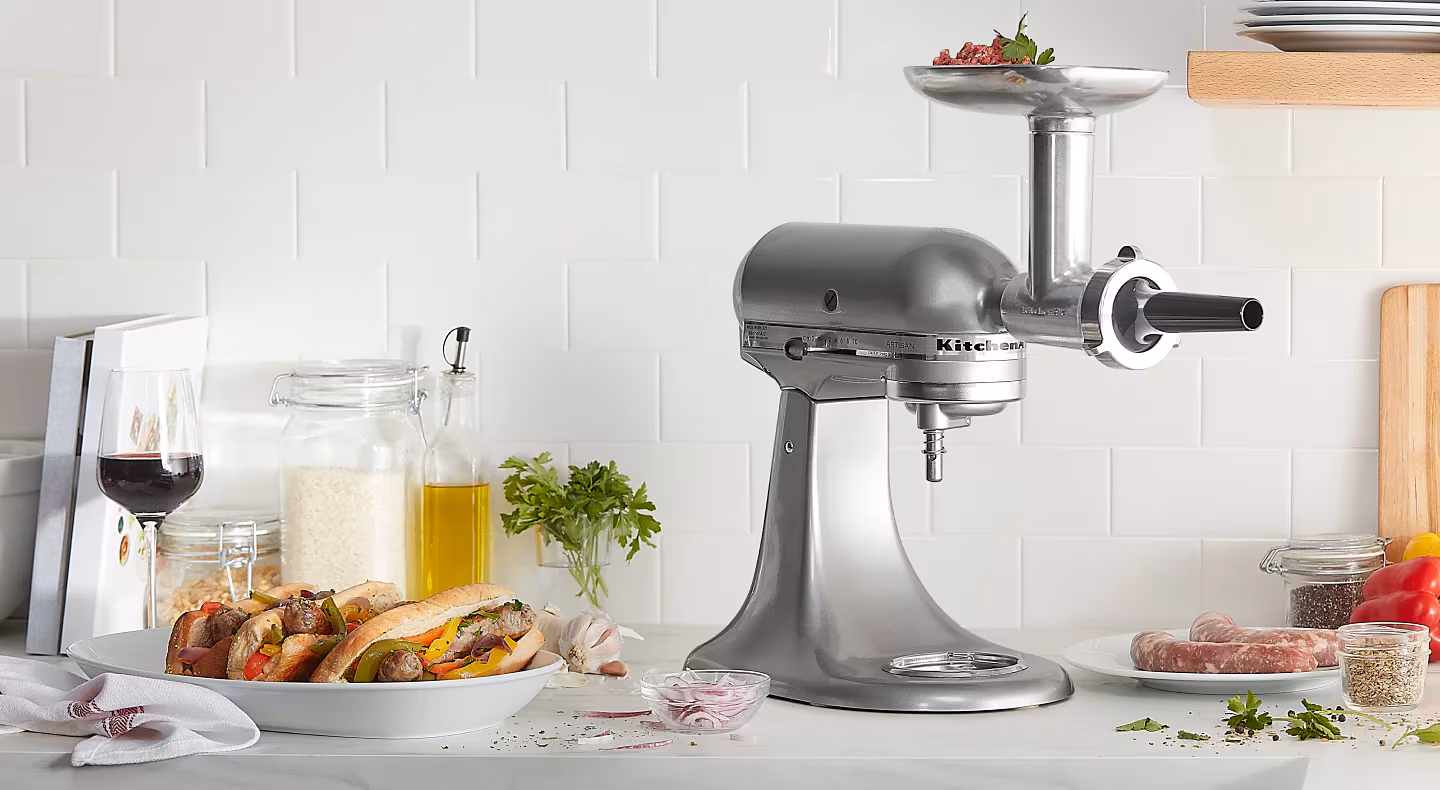
Using a sausage stuffer is typically the most time-efficient and simplest method for stuffing your own sausage. Some meat grinders have attachments like the KitchenAid® Sausage Stuffer Kit 1 that can help streamline the process. It is possible to manually stuff sausage, but it can be time-consuming.
1 Compatible with the KitchenAid® Food Grinder Attachment model KMSFGA, sold separately.
How do you use a sausage stuffer?
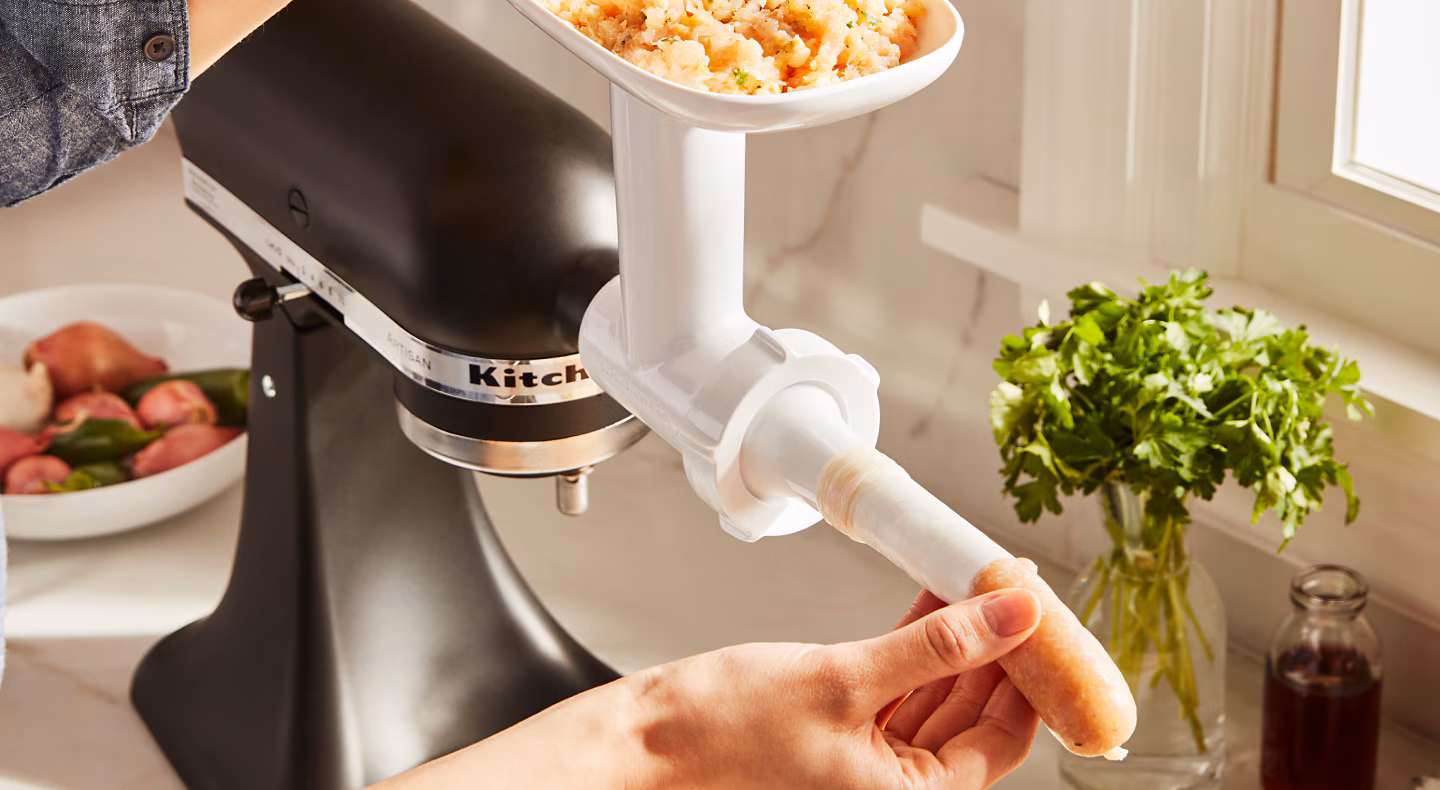
To use your KitchenAid® Sausage Stuffer Kit1, insert the ground meat into the tray at the top of the attachment. Coat the sausage stuffer tube with vegetable shortening. Then, gently place a casing onto the sausage stuffer tube, ensuring you leave approximately four inches to securely tie off one end. Using the food pusher, feed the meat down and into the casing until about 4-6 inches of the casing remains. Pause the stand mixer, and securely tie the open end of the casing using either a tie string or another suitable method.
1. Compatible with the KitchenAid® Food Grinder Attachment model KMSFGA, sold separately.
Tip
When using natural casings, begin by immersing them in cold water for half an hour to eliminate excess salt. Then, thoroughly rinse the casings by allowing cold water to flow through the entire length of each casing, repeating this process, as needed.
How do you choose the right sausage casings?
Influenced by processing methods, ingredients and size, choosing a casing for your homemade sausage is important. Natural, collagen or fibrous sausage casings are available in different sizes for different sausage types.
Natural casings gained popularity due to their flexibility, durability and how simple they are to fill. Collagen casings are processed, inexpensive and are generally the same size as natural casings. They typically come fresh for sausages like breakfast links and bratwurst, or smoked for hot dogs and snack sticks. Fibrous casings are inedible but they are sturdy for holding tightly-stuffed sausages such as pepperoni, summer sausage and bologna. Simply peel the casing off before eating your sausage.
What sausage casings can you use with the KitchenAid® sausage stuffer attachment?
You can use natural or synthetic (fibrous or collagen) casings with the KitchenAid® Sausage Stuffer Kit.
For the small stuffer tube, casings should measure 21 - 23 mm in diameter.
For the large stuffer tube, casings should measure 28 - 30 mm in diameter.
The large stuffing tube can be used with or without casings. Using the large tube without casings results in a sausage link the size of a breakfast sausage. Sausage prepared without casings requires a high fat content so the meat will hold its shape during cooking.Sausage casings can be purchased at butcher shops, by special order at grocery stores or online.
How do you prepare sausage casings for stuffing?
Follow these steps to prepare natural and synthetic sausage casings for stuffing. Keep in mind that both natural and synthetic casings should be soaked in water prior to stuffing.
Natural casings:
Soak in cold water for 30 minutes to remove excess salt.
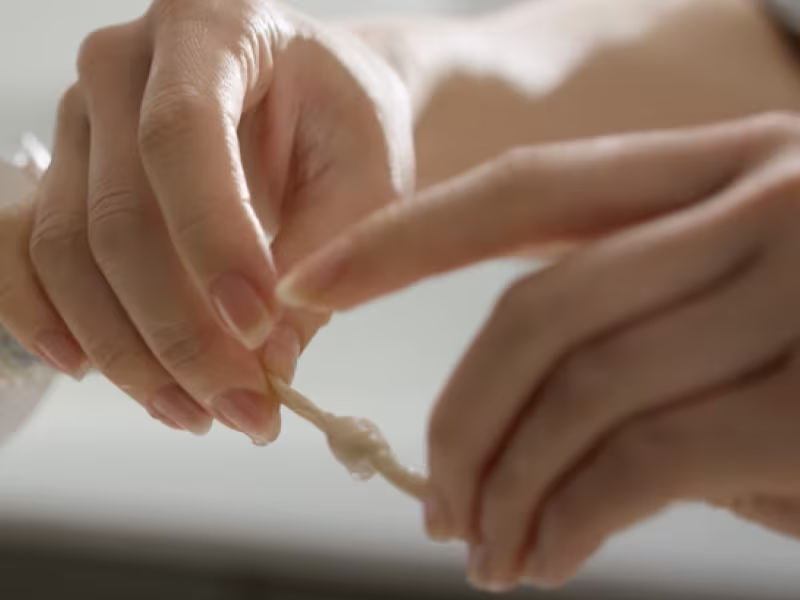
Rinse several times by running cold water through the entire length of the casing by wrapping an open end of the casing around a faucet and turning on the water – like filling a water balloon.
Synthetic casings:
Soak casings in water for 5 minutes to make them more pliable and easier to work with.
Once the casings are prepped, follow the instructions below for stuffing the sausage casings.
How to stuff sausage casings
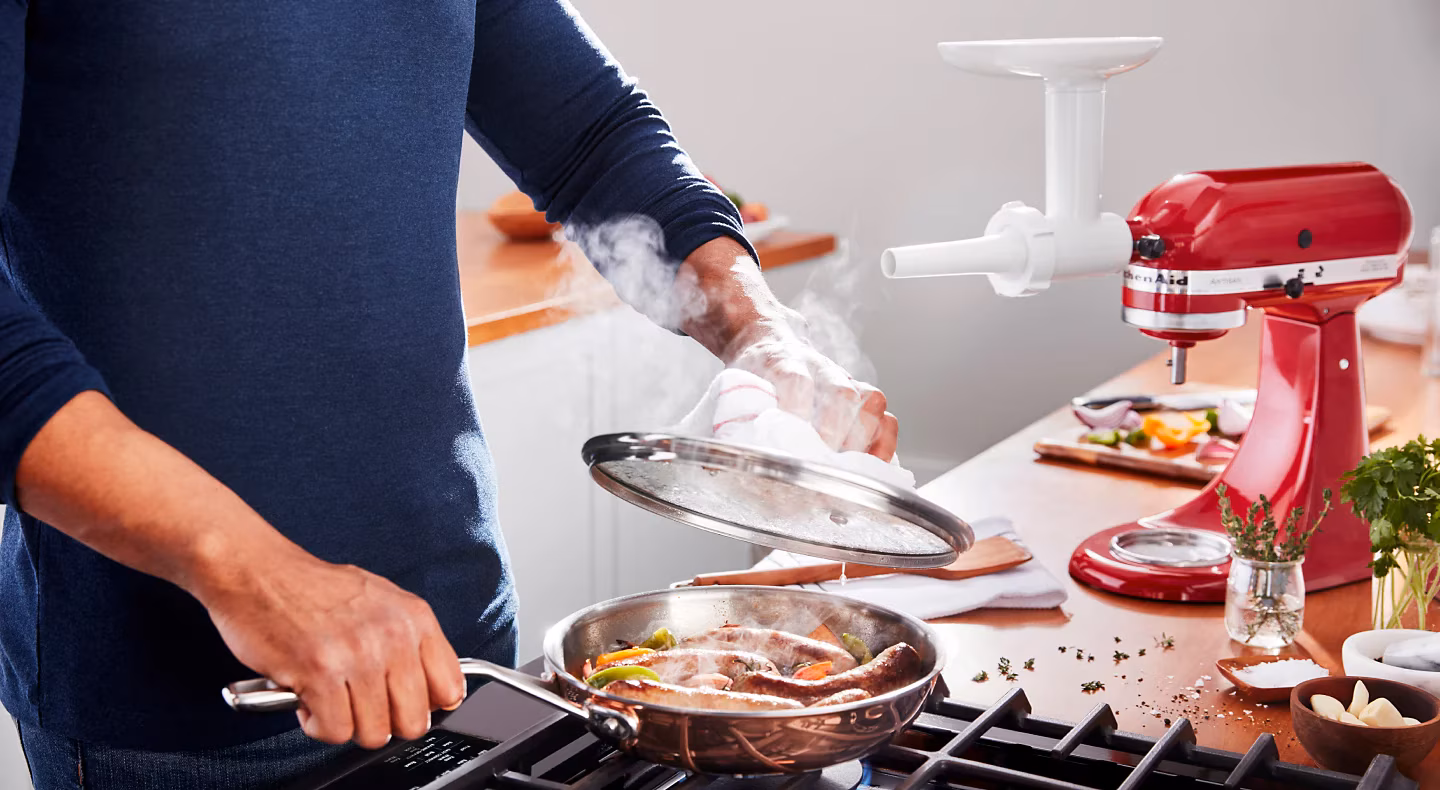
Whether you are making your own spicy Sriracha Chicken Sausages or a more traditional homemade bratwurst, achieving the perfect blend of taste and texture starts with expertly stuffing your casings. If you’re using a KitchenAid® Sausage Stuffer Kit, read the following step-by-step instructions to master the art of stuffing sausage casings.
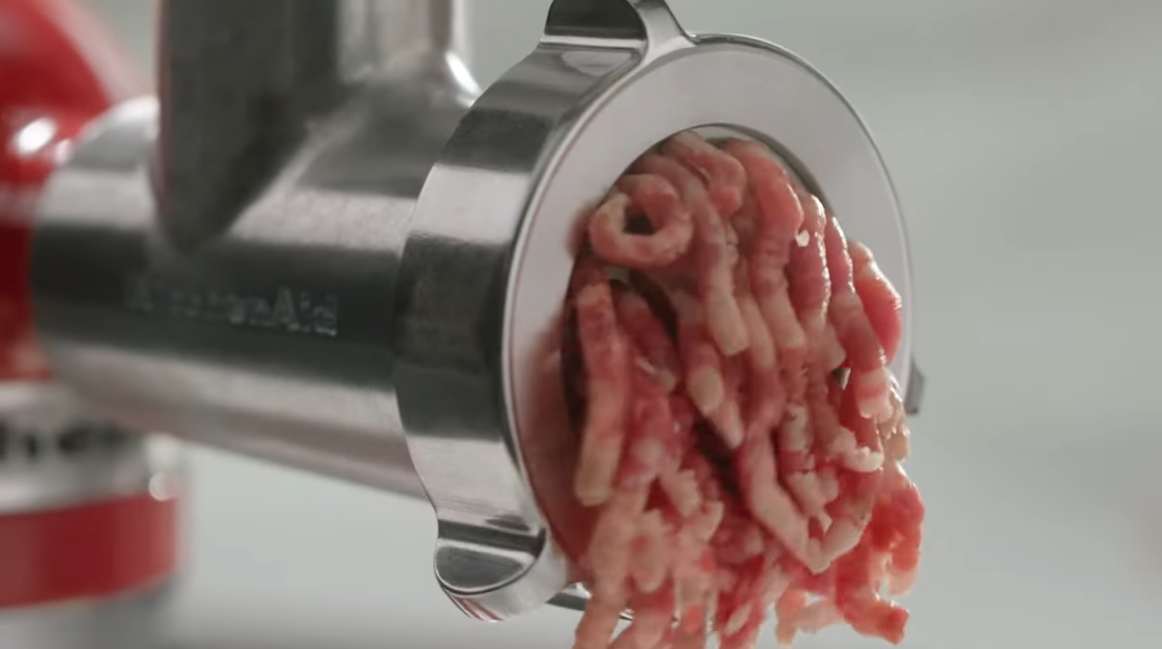
Step 1: Grind and season sausage meat
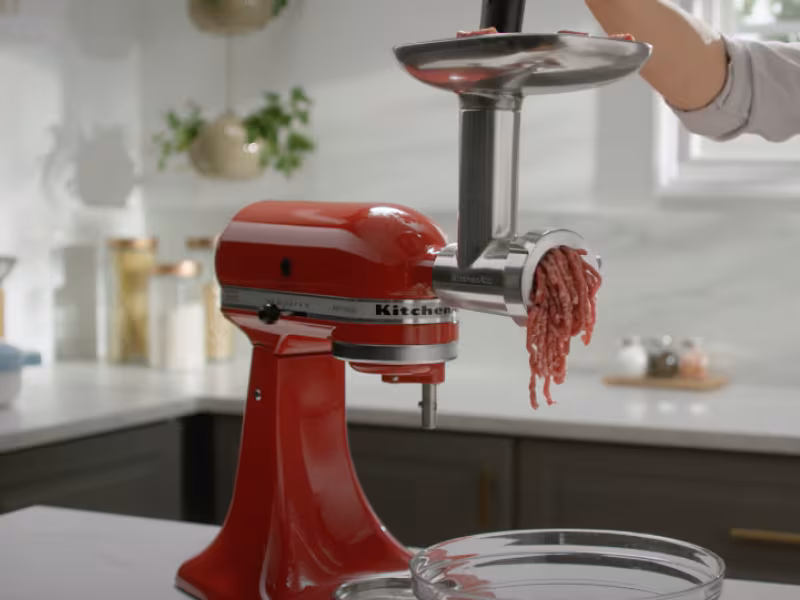
Before putting meat into the sausage stuffer attachment, it should be ground with the food grinder attachment and seasoned as desired.
Step 2: Grease the sausage stuffing tube
Grease the selected tube with shortening so your prepared casings will slide onto it more easily.
Step 3: Cut and tie the sausage casing
Cut a 3 to 4 foot length of casing. Tie a knot in one end of the casing or tie it closed with string.
Step 4: Feed ground meat into the sausage stuffer
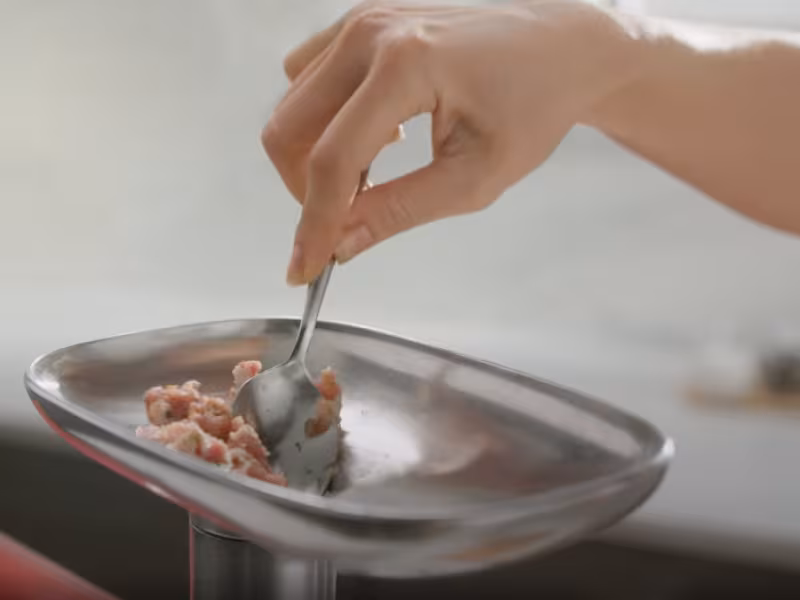
The ground sausage meat can be fed into the attachment using the food pusher. Feed the meat through just until it comes to the tip of the stuffer tube. This will help eliminate air bubbles in the casing.
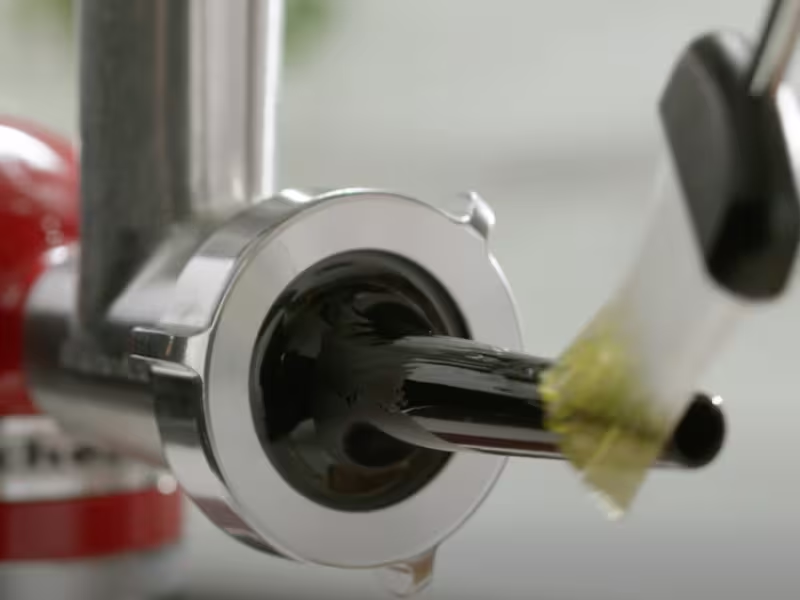
Step 5: Put the sausage casing on the stuffer tube
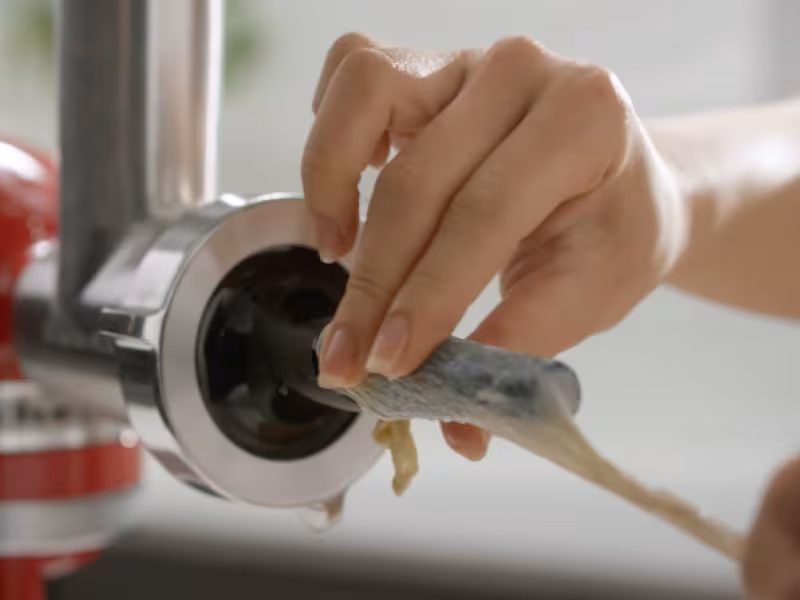
Starting at the open end, slide the casing onto the stuffer tube until the knot is at the tip of the stuffer tube.
Step 6: Feed ground meat into the casing
Turn your mixer on to Speed 4 and slowly feed “pinches” of the ground, seasoned meat into the hopper tube. Use the food pusher to guide the meat into the hopper tube and gently press it through the attachment. It takes a few minutes for the meat to begin to feed into the casing.
Avoid fully filling the hopper tube with meat. This can cause the meat to compact and bunch up in the tube instead of moving through the attachment.
Avoid using excessive pressure to force meat through the attachment. This can cause juices to back up into the mixer, causing damage.
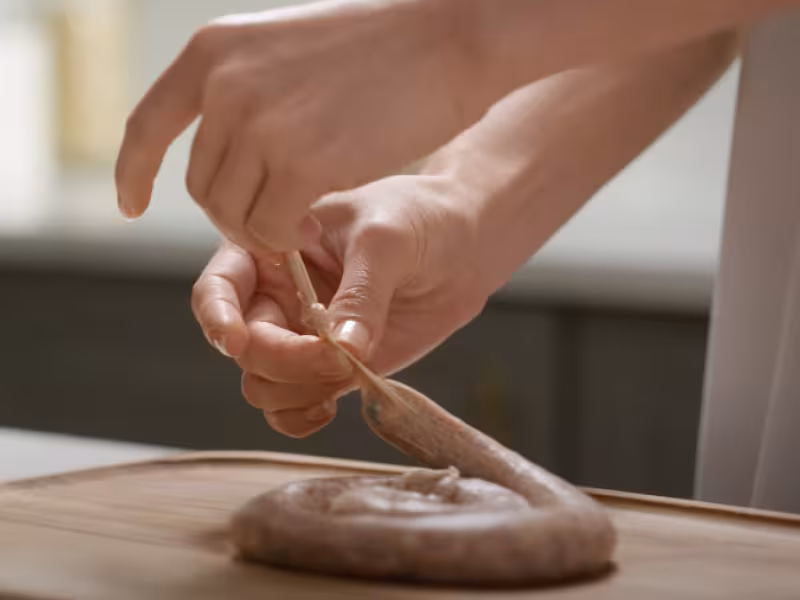
Air may cause the casing to “balloon” before the meat starts feeding into it. The air can be released by making a small puncture in the casing with the tip of a sharp knife or toothpick.
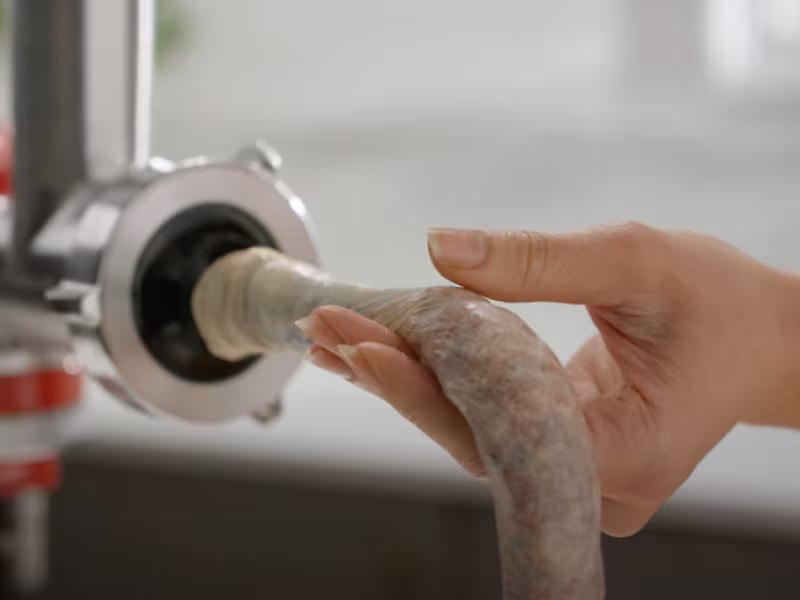
Step 7: Fill the casing and tie it closed
As the meat begins to fill the casing, hold the tied end of the casing in one hand and guide the meat mixture as it fills the casing. Do not pack the meat mixture too tightly into the casing; allow enough room to twist the sausage into smaller links and for expansion during cooking.
As the last few inches of casing are reached, turn off the mixer, slip the casing end off the stuffer tube and tie it off.
Cut the next casing length and repeat the process until all meat is used.

How do you link and tie sausages?
When you’re making sausage links, instead of making separate casings for each link, create one long casing. After filling it, simply pinch and twist between each link, and tie a piece of butcher’s twine at each twist. Just remember not to overfill the casings, or they might burst.
Sausage stuffing tips
Season the meat before you grind it to allow the grinder to mix in the flavors for you.
Freeze the meat the night before to help maintain its texture. Thaw the meat slightly before grinding.
Fry a piece of the meat to taste test before stuffing the casings in case you want to add any extra herbs and seasonings.
After your sausage casings have been properly soaked in warm water, run a small amount of water through the end of the casing. This will help open up the casing's end and lubricate the inner sections.
If you notice air pockets, just tap the casings gently with the blunt edge of a knife or a sausage pricker.
To ensure you extract every bit of sausage, pass a few ice cubes through your stuffer or grinder. You can also use a wooden dowel to gently push out any leftover meat that may be stuck.
KitchenAid Chef
— Sharing our passion for making
At KitchenAid, we unite people who love cooking and baking, brewing and creating. For over 100 years, KitchenAid has worked on behalf of every Maker out there. Our iconic tools are made with you in mind — opening the door to new possibilities and helping you to get most out of making.